Azure DevOps
This article shows you how to integrate Inspect into your Azure DevOps workflow to provide automated code analysis.
Prerequisites
This tutorial assumes that you have an existing YAML-base Azure Pipeline defined. You will be adding the tasks required to integrate Inspect to this file.
Step 1: Create Your Secret Variables
You will need to create secret variables to store authentication information for ShiftLeft.
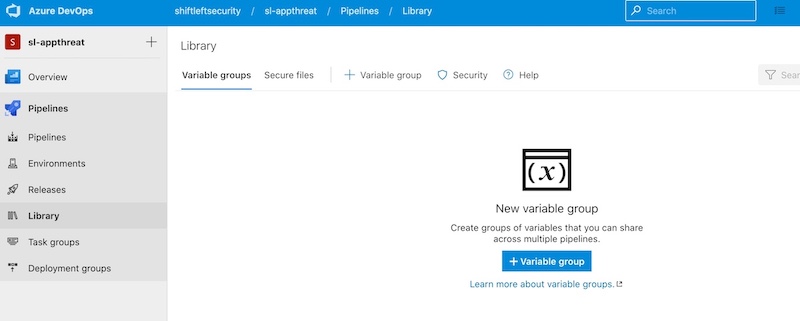
We recommend creating your secret variables using variable groups since this method balances security with ease of deploy across multiple repositories.
However, you could also create your secret variables using:
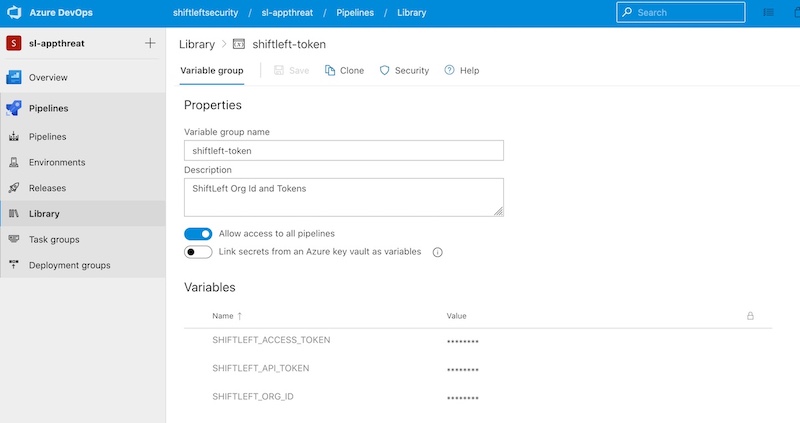
When creating a variable group, we recommend calling it something like shiftleft-token. You can then provide the following values:
| Variable | Value |
|---|---|
SHIFTLEFT_ORG_ID | Your Organization ID |
SHIFTLEFT_ACCESS_TOKEN | Your Access Token |
You can find your Organization ID and Access Token in the ShiftLeft Dashboard under Account Settings.
At this point, you can refer directly to this group in the pipeline's YAML configuration file using the group property under the variables section.
Step 2: Add ShiftLeft to Your Pipeline
You will need to include instructions in your Pipeline to download the ShiftLeft CLI so that the Pipeline can run Inspect.
If you're running Windows, you can do so using a PowerShell task:
If you're running Linux or macOS, you can use a script task:
Step 3: Invoke Inspect for Code Analysis
The following sections will show you how to analyze your Java or C# applications.
When invoking Inspect, you need to refer to the SHIFTLEFT_ORG_ID and SHIFTLEFT_ACCESS_TOKEN variables. As suggested earlier in this article, if you created a variable group, these variables will be available automatically to all of your Pipelines.
Analyzing a Java Application
The following examples show how you can build your Java application (which is required before Inspect can analyze your code), then use the ShiftLeft CLI to invoke Inspect for code analysis.
Please note that the ShiftLeft CLI requires Java 8 to create the Code Property Graph (CPG) representation of your source code. This is necessary before code analysis unless you are analyzing a project written in C#. If so, you can skip this step.
To set up Java 8, use the Java Tool Installer.
On Windows:
On Linux/macOS:
Analyzing a C# Application
The following examples show you how to build your .NET Core application, then use the ShiftLeft CLI to invoke Inspect for code analysis.
For .NET applications, plass in the .sln file instead of the .csproj file: