preZero extension for Eclipse
Set up Java
Eclipse comes with Java 17 by default, but the extension requires Java 20. Download Java 20 and make it available by updating the -vm-parameter in eclipse.ini:
-vm
/Library/Java/JavaVirtualMachines/jdk-20.jdk/Contents/Home/bin
On macOS, find the
eclipse.iniat/Applications/Eclipse.app/Contents/Eclipse/eclipse.ini. On Windows,eclipse.iniis located in the same directory aseclipse.exe.
Install the plugin
-
Obtain the preZero plugin for Eclipse archive file from Qwiet AI.
-
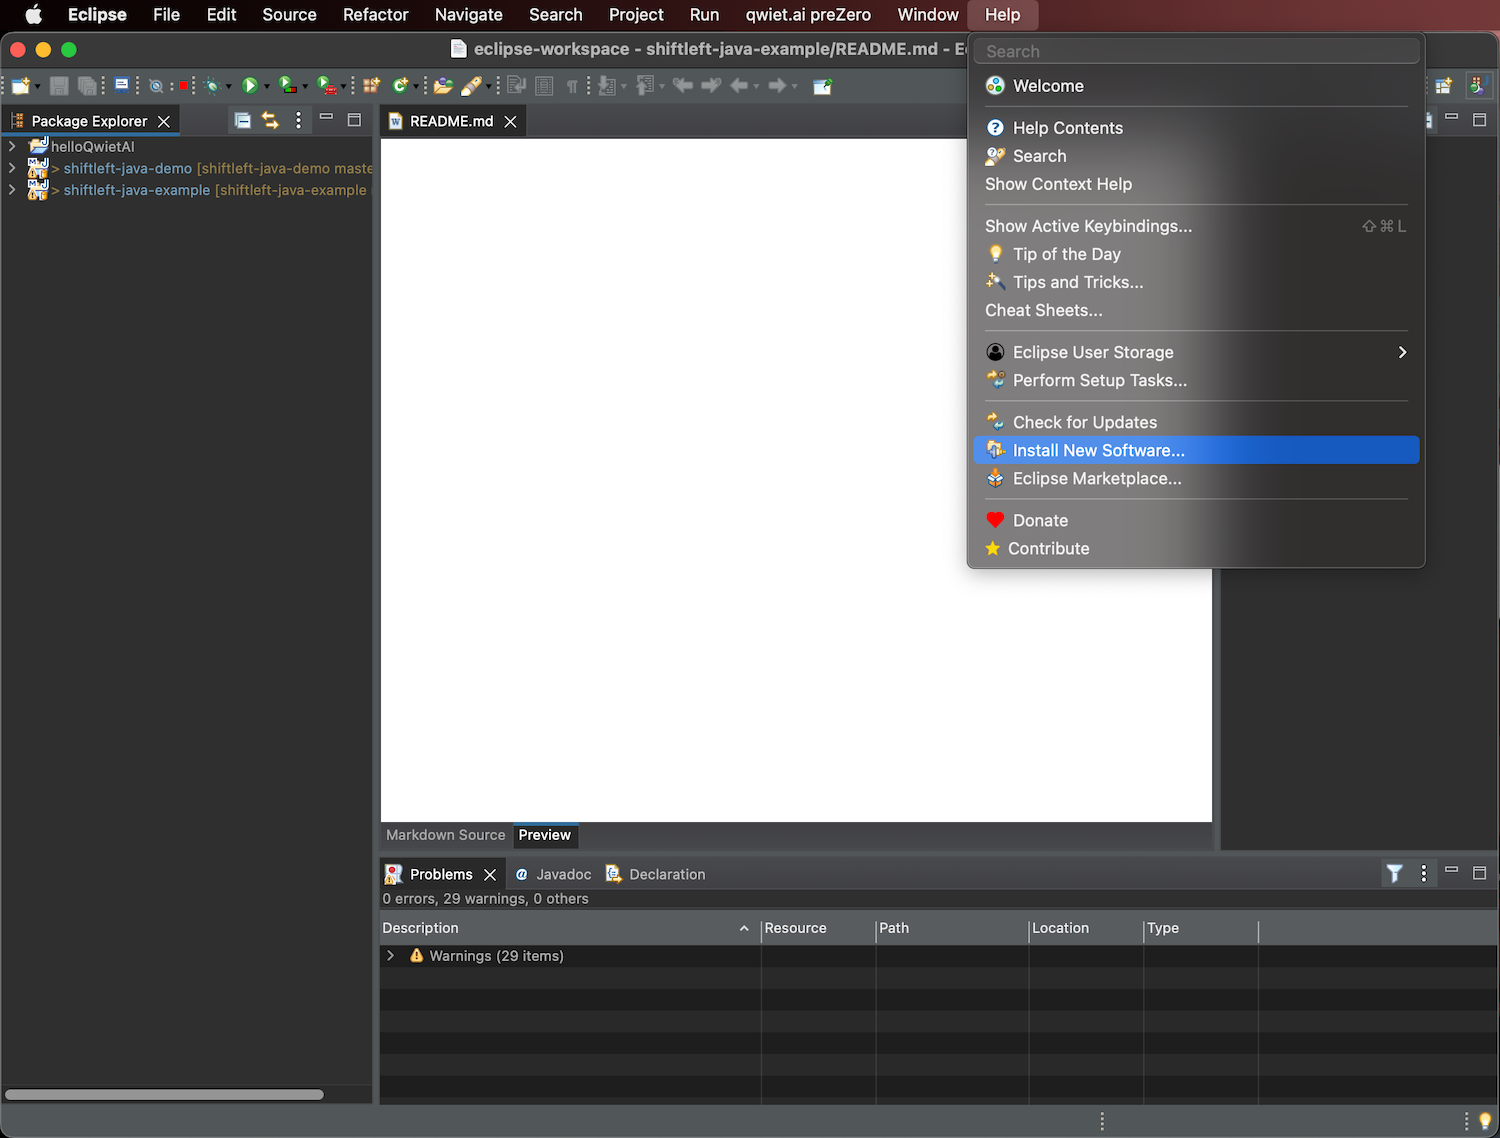
Launch Eclipse.
-
Go to Help > Install New Software....
-
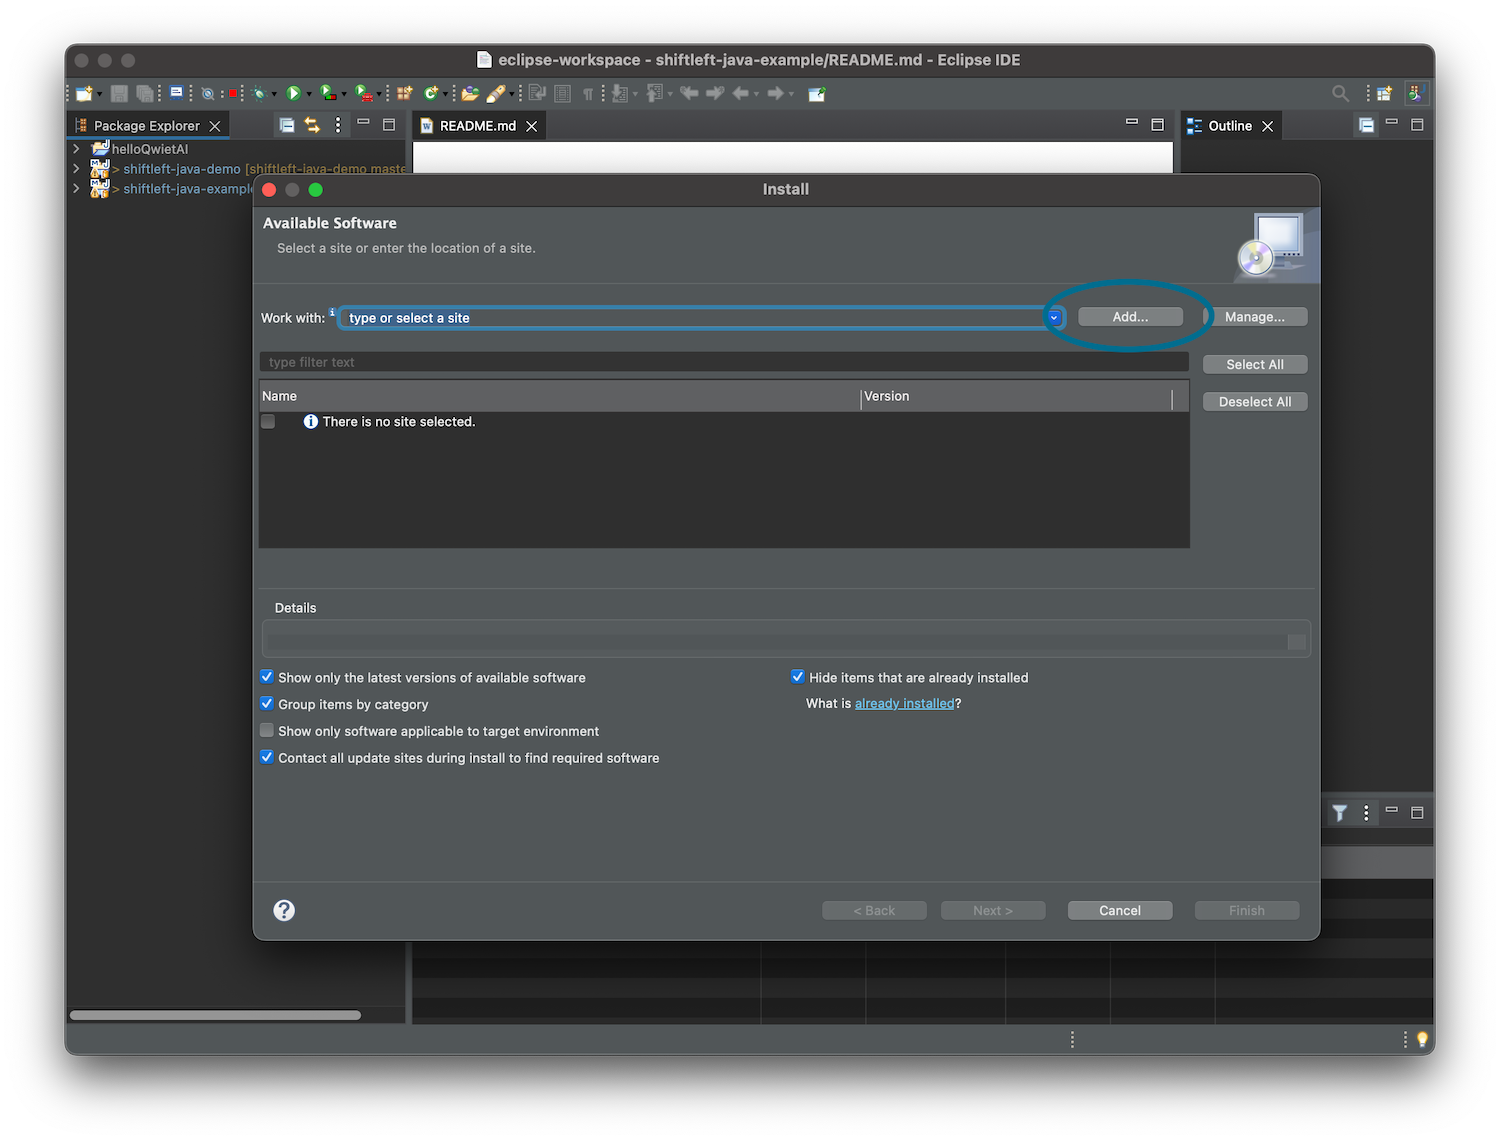
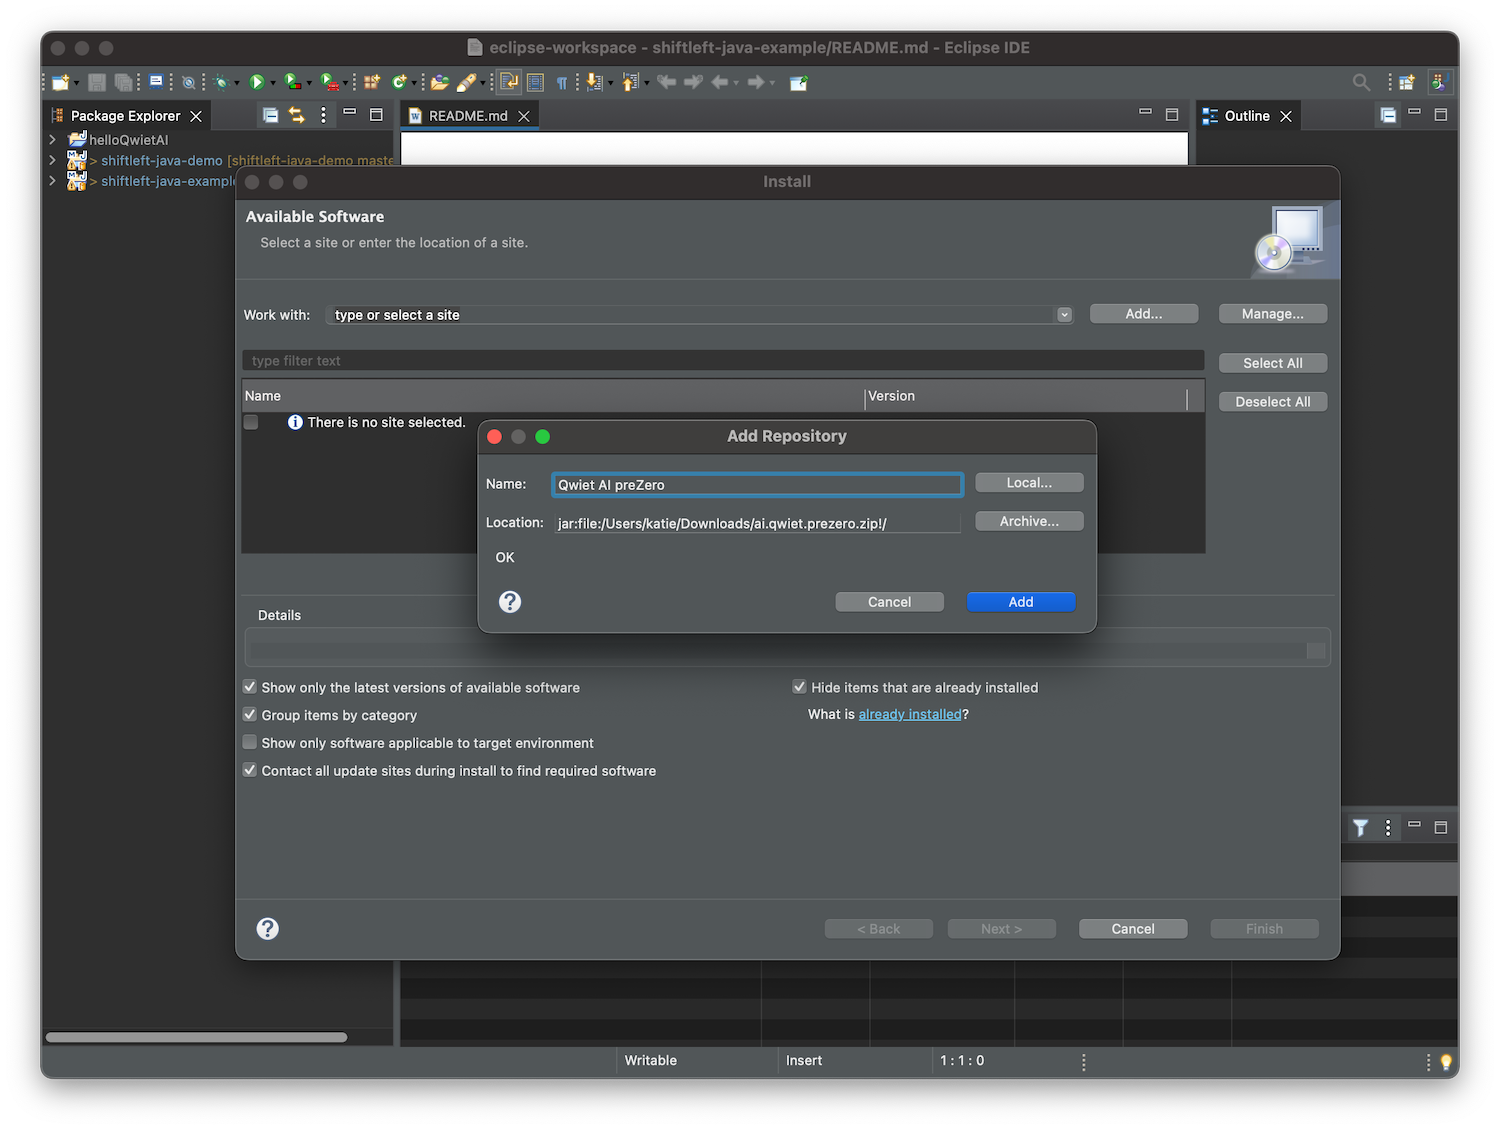
In the Install window that opens, click Add....
-
The Add Repository prompt appears; click on Archive.... Navigate to where you downloaded the archived extension folder. Select the
ai.qwiet.prezero.zipfolder, and click Open.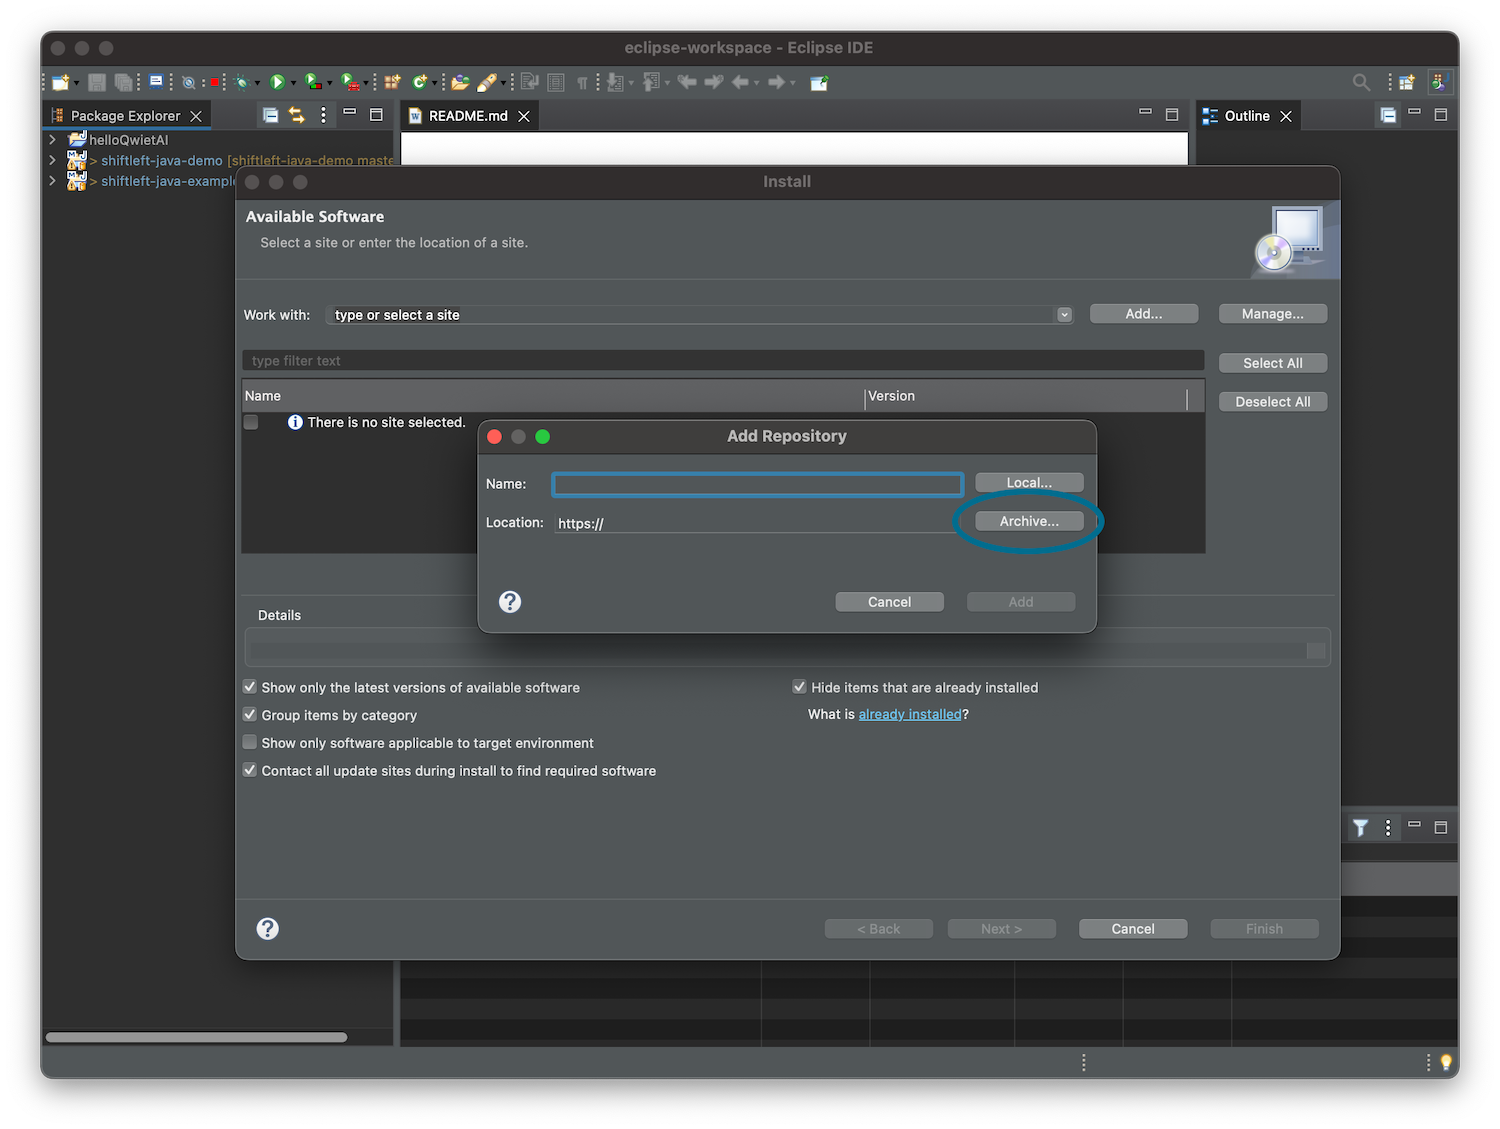
-
Provide a Name to use with the extension. Then, click Add.
-
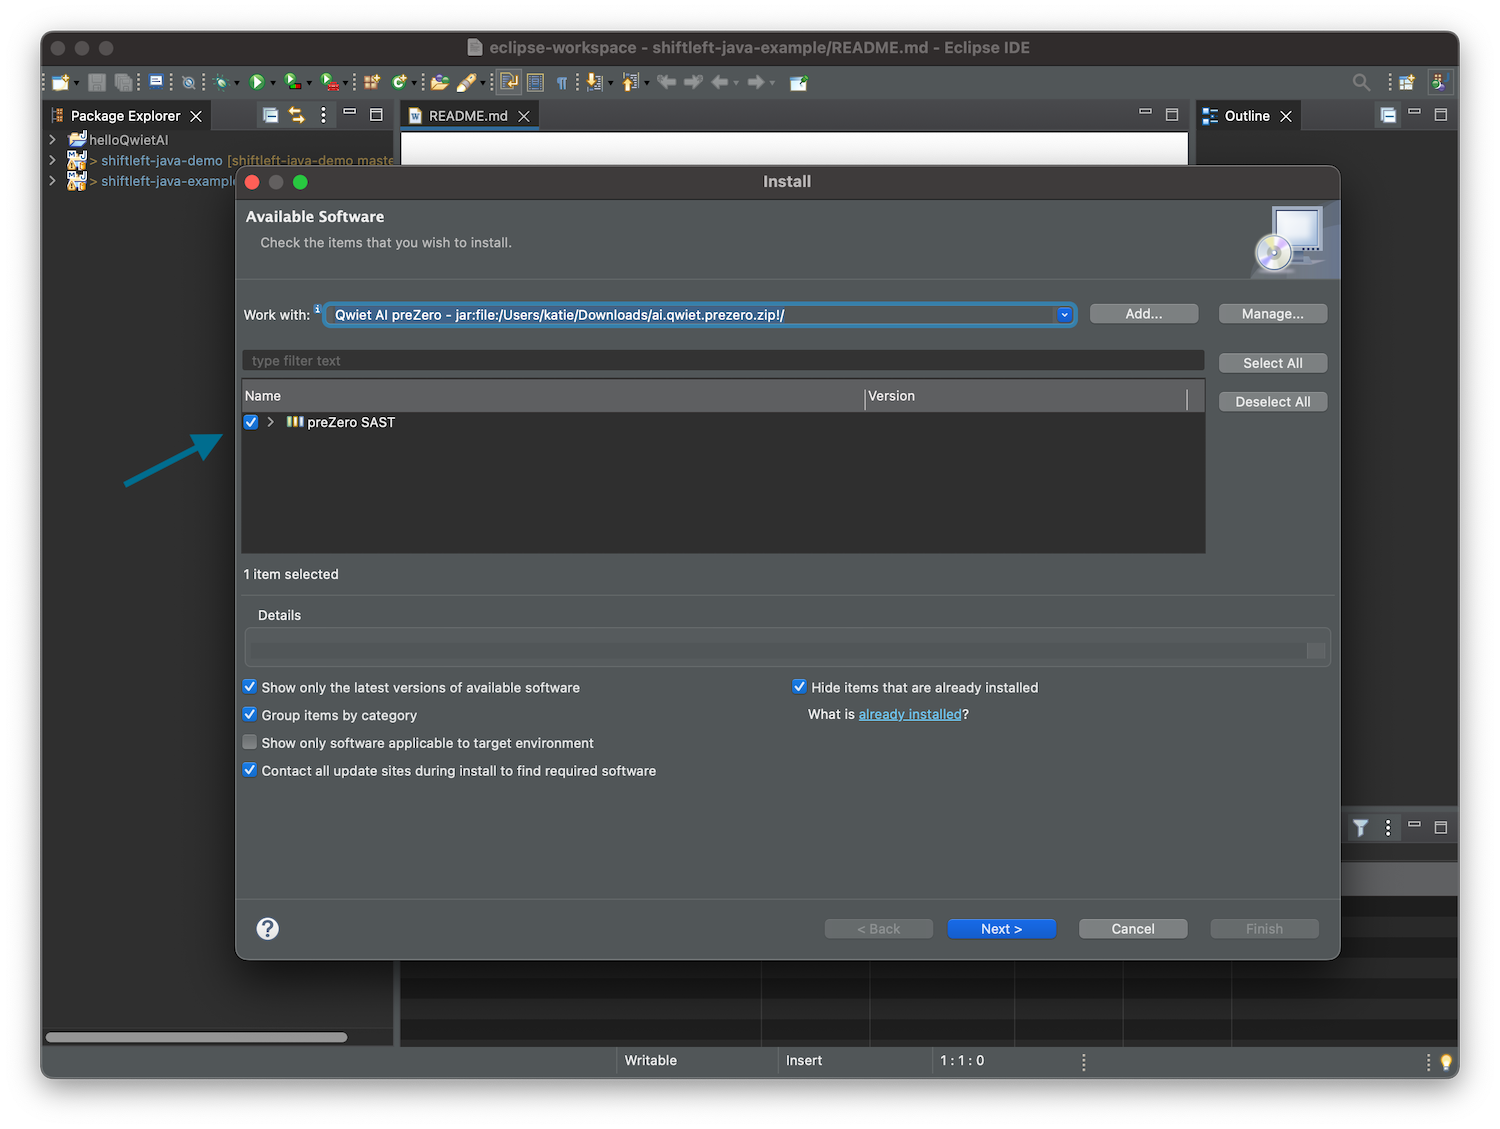
Check the box to the left of preZero SAST, and click Next >.
-
Review the list of items to install, and click Finish to proceed.
-
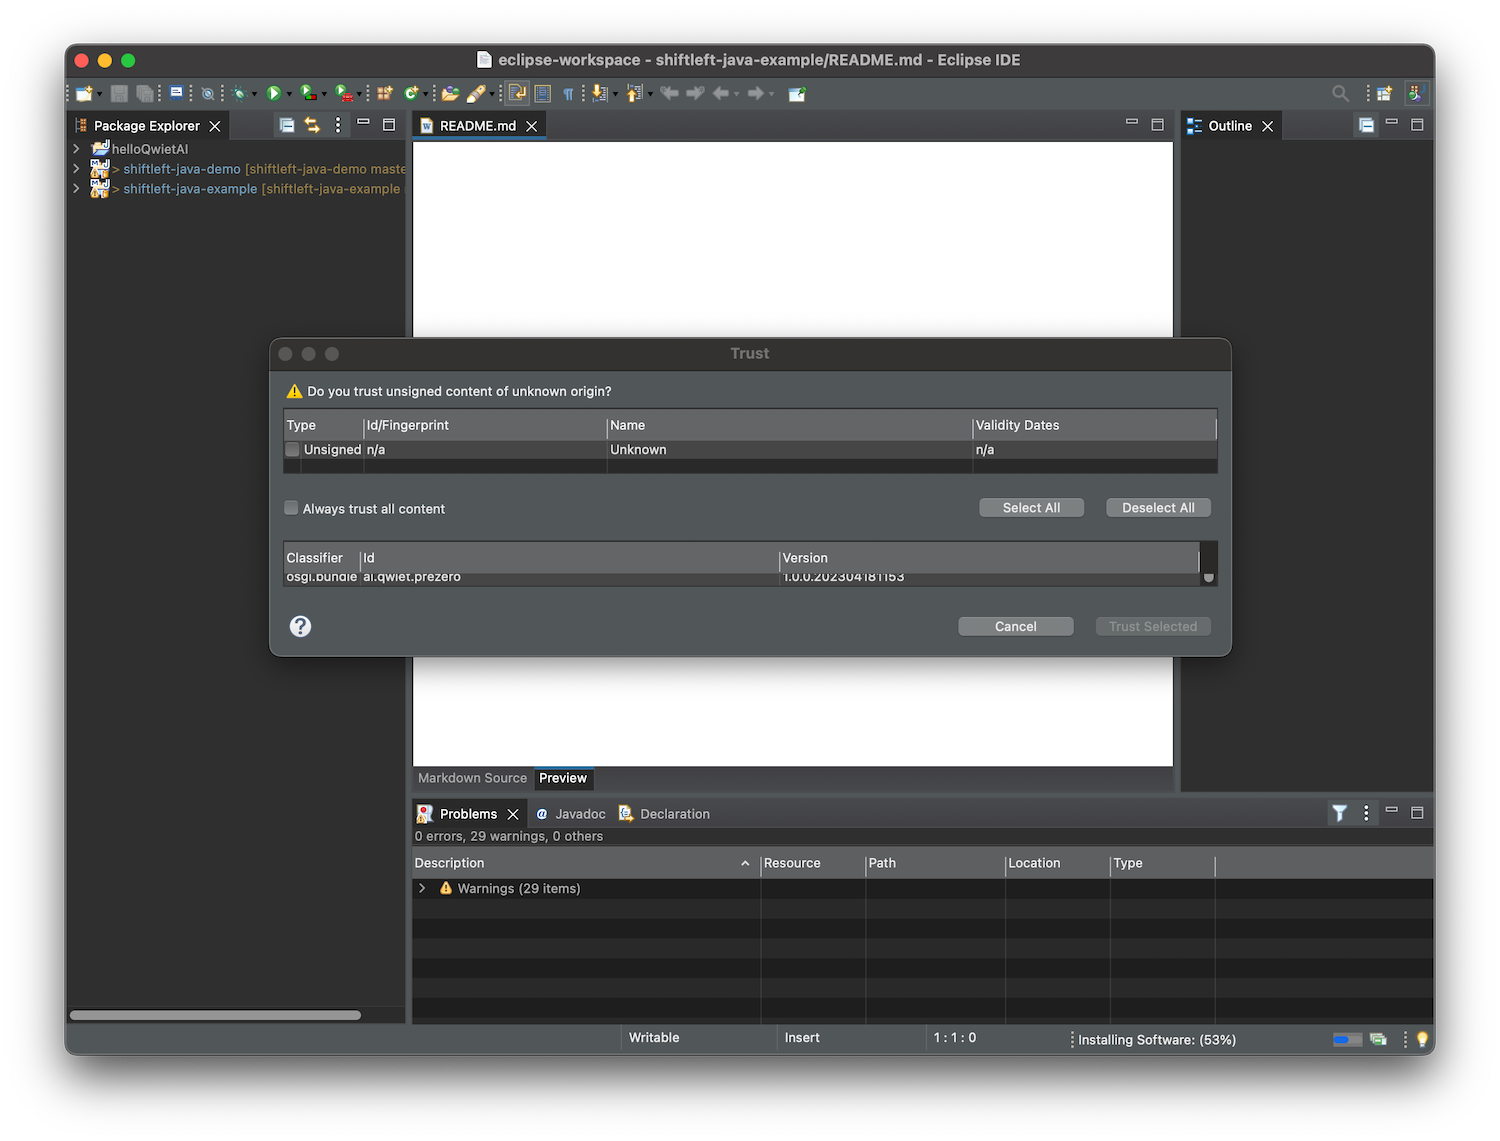
In the Trust window that appears, click Select All > Trust Selected to proceed.
-
click Restart Now to apply the software update when prompted.
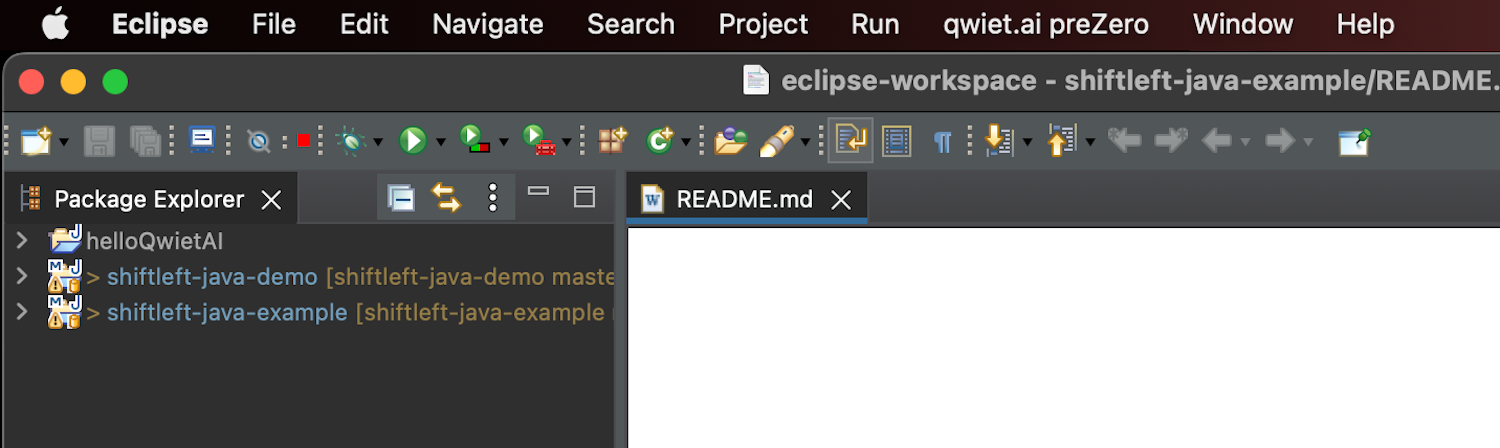
If you've successfully installed the extension, you'll see qwiet.ai preZero in the toolbar:
Analyze an application
Open up the application of your choice.
In the toolbar, select qwiet.ai preZero > Run Analysis.
If you haven't already authenticated with Qwiet, you'll be prompted to do so. Follow the prompts to complete this process.
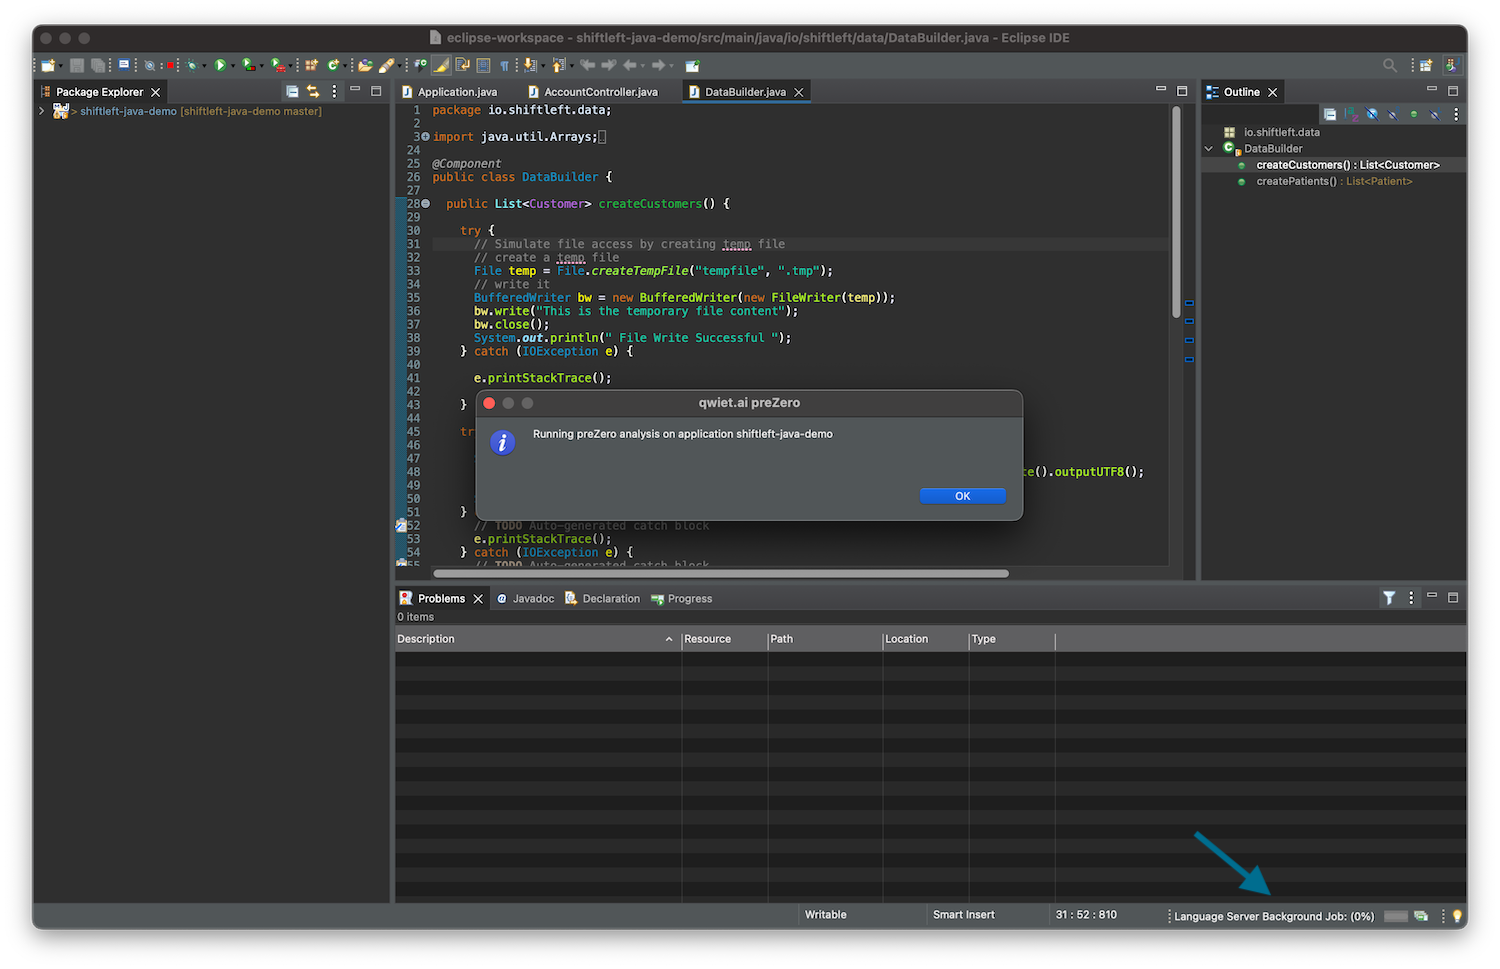
Eclipse will indicate that the analysis is running:
When done, you'll see the results displayed in the Problems tab at the bottom of the IDE:
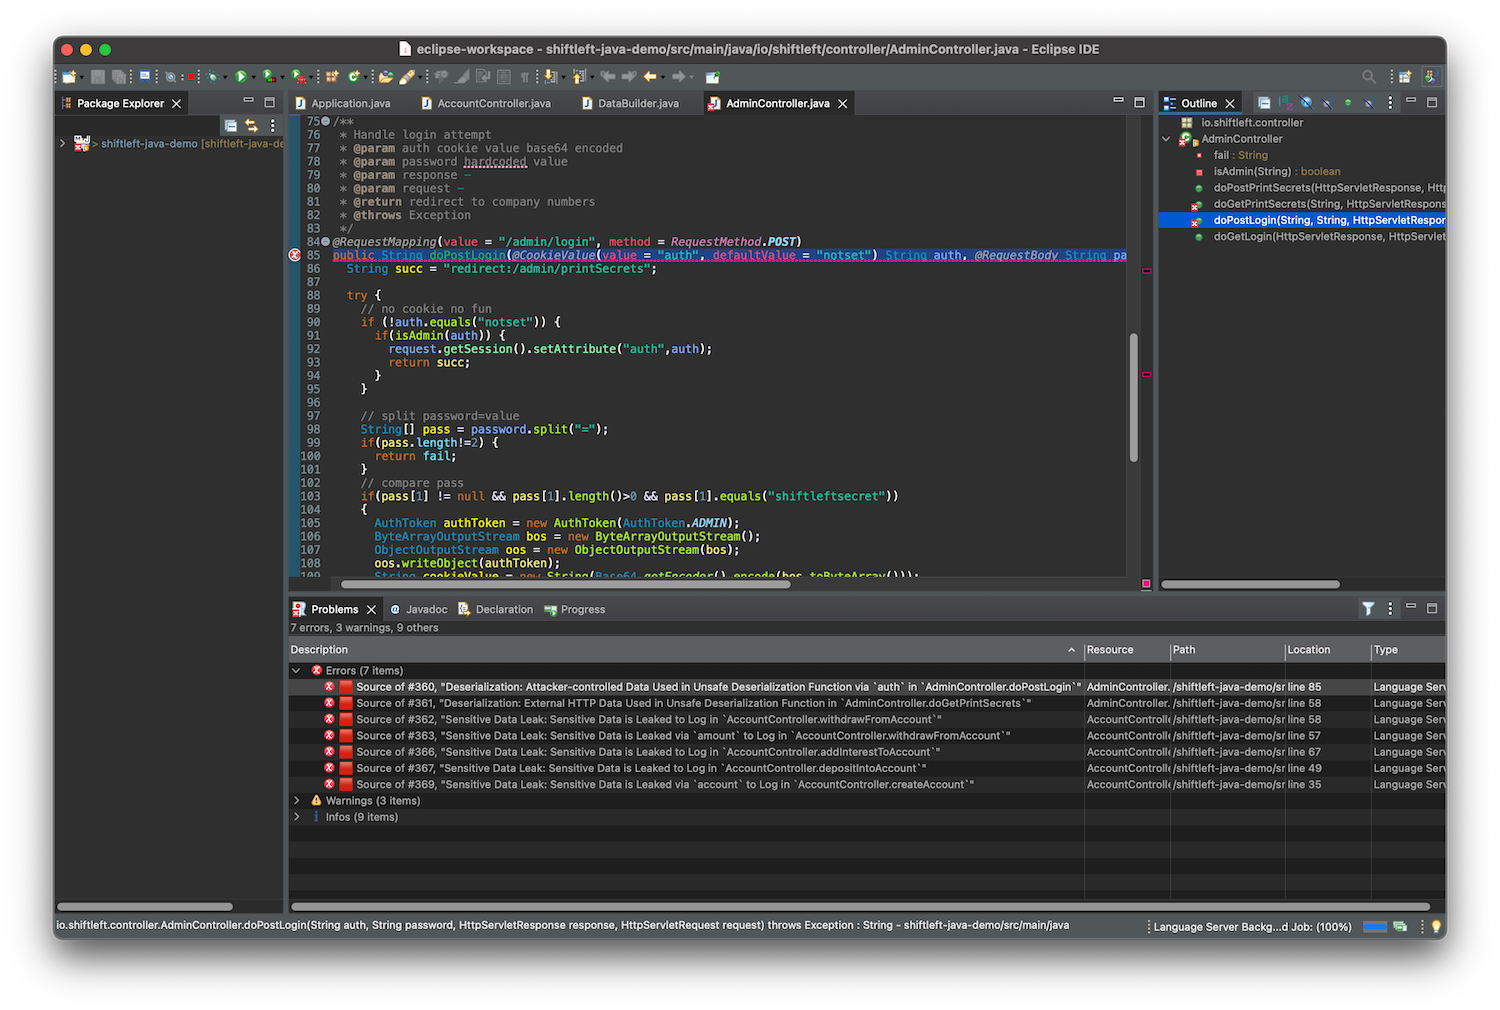
Double-clicking on an individual item in the Problems tab will take you to the source code location where the issue occurs.
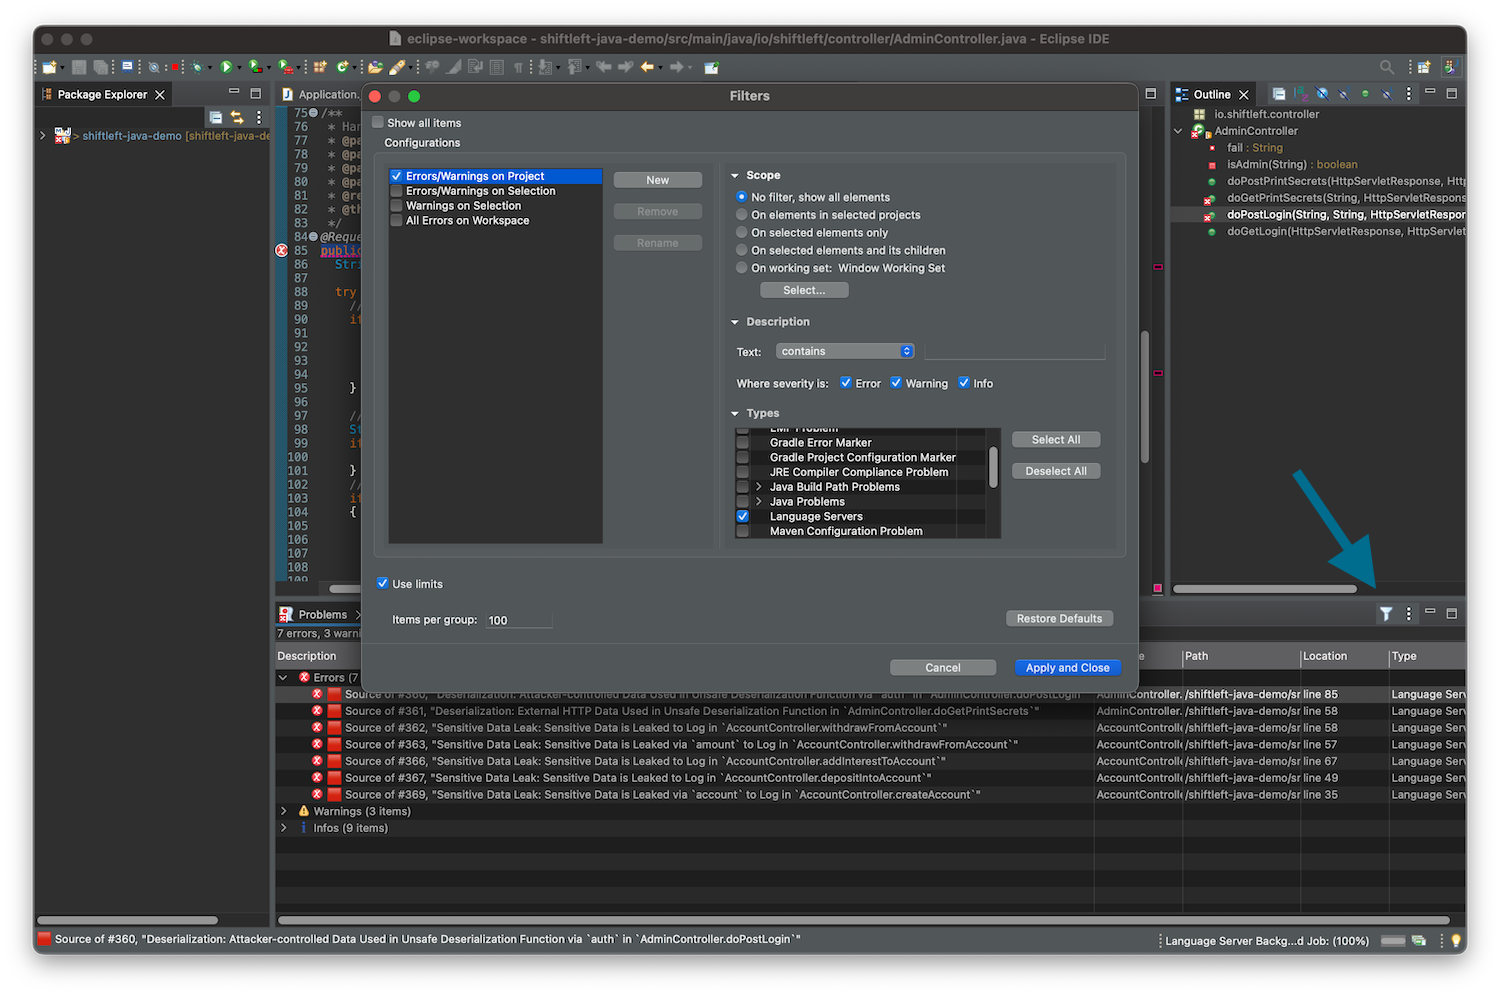
Filtering results
You can filter specifically for issues identified by preZero so that only those are displayed in the Problems tab. To do so:
- Click on the filter in the top-right of the IDE's bottom pane.
- In the options window that opens, make the following changes:
- Under Configurations, select Errors/Warnings on Project.
- Under Scope, select No filter, show all elements.
- Under Types, select Language Servers.
- Click Apply and Close to proceed.